I'm still trying to get to work on my silk bowls. Have had the flu the last week & a half. It just
won't let go. Hope to get back to it soon. Will try & post pics of my process.
The Quilter's Meow
Welcome
Tuesday, January 24, 2012
Tuesday, January 17, 2012
Silk Caps
I'm still working on my free motion quilting. I'd like to be able to free motion quilt these caps. You
don't need a special sewing machine. Just so the feed dogs can be lowered, that's all you need.
Here's the materials list for these bowls:
*One pre-dyed silk cap (layers of silk cocoons that have been stretched out & flattened into a bell shape.
* A suitable selection of machine embroidery threads
* A spring-clip embroidery frame with a platic outer hoop & a metal inner hoop.
* Lightweight, transparent water-soluble stabilizer, enough to cover both sides of the cap. (I use Sulky Solvy)
* Fusible polyester fibers, such as Angelina or fantasy fibers
* A selection of beads & sequins
* Fabric Stiffening Spray
* Sewing Machine
* Beading needle & suitable thread
* A cling film-covered vessel for shaping the bowl
Some of these are optional, like the beads, but add interest. This technique & the materials list is
from an article I read in my favorite magazine, Quilting Arts written by Kath Danswan.
You start by cutting 2 pieces of water-soluble stabilize big enough to cover the cap.
Lay the silk cap onto the stabilizer & add any additional fibers you may want at this stage.
Cover the silk with the second piece of stabilizer to make a sandwich. Place the layered cap centrally into the embroidery frame, gently easing it until it lies flat.
Start working from the center. This is where the free-motion embroidery comes in. If you are a
beginner, it's good to choose an organic type of theme. Nature is never perfect, so if you make a mistake it doesn't matter. My theme is flowers.
Work your way out from the center.
Once the machine embroidery is completed, remove the bowl from the hoop & carefully wash away most of the stabilizer.
Place the bowl over the covered form that you are using to shape it. Prop up the form so the edges of
the bowl don't touch the worktable.
Leave it preferable overnight. Once it's dry, completely spray it with the fabric stiffening spray & let
dry.
Remove the bowl from the form & add any beads or embellishments you might like. I'm planning
on adding beads & Angelina Fibers to add interest.
Stay tuned for my finished bowl. I haven't finished yet but I'm planning on making several.
Sunday, January 15, 2012
Life in Georgia: Back in business
Life in Georgia: Back in business
Found these silk caps on Etsy. Fiber Charmer has great threads & silks on Etsy.
Found these silk caps on Etsy. Fiber Charmer has great threads & silks on Etsy.
Saturday, January 14, 2012
Back in business
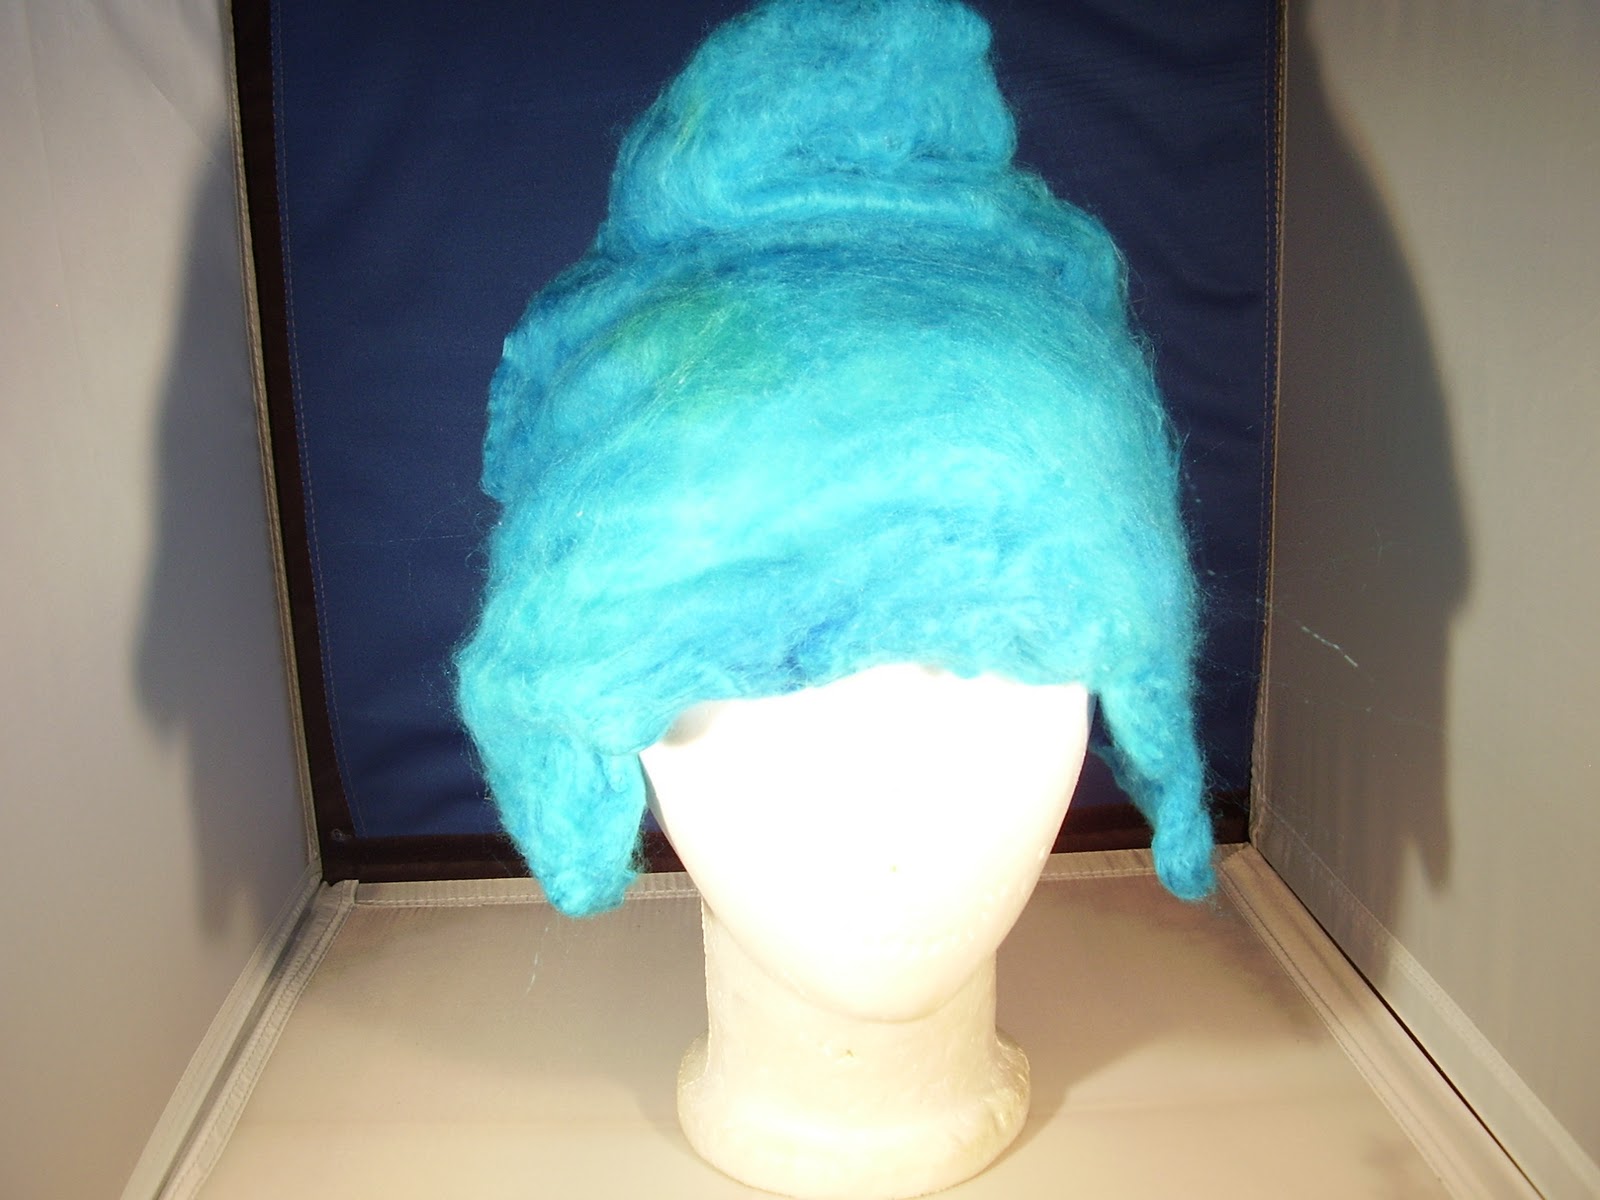
 These Silk Bell Caps will be changed into bowls. I'm working on adding a tutorial explaining how to turn these caps into bowls. They are embroidered, beaded & will shape up & be stiff enough to keep their shape. Stay tuned as I learn along with you to turn these beautiful silk caps into wonderful, decorative bowls.
Subscribe to:
Posts (Atom)